Monday, June 27, 2011

4TH OF JULY

I found an awesome tutorial for the cutest dress and just had to give it a try!! I've never really sewn clothing before, so it was interesting, but I think I kinda figured it out :)


my cute little model :)


i found the tutorial here!!
(hers is much much cuter, but hey, i tried!!)

Saturday, June 25, 2011

NO-SEW PILLOW COVER

Okay, so i may be obsessed with pillows lately..don't hate. I was blog stalking ONCE again today and ran into a tutorial that I saw a while ago and finally had to try out. After all, the chair in my little girl's room looked lonely...I didn't have quite enough fabric so it's kinda scrunched up, but you get the picture. PLUS if you don't like to sew, this is perfect!! Check out the tutorial here!!!


It's kinda big for the chair, but it'll do for now!!

Thursday, June 23, 2011

OWL LOVIE

I thought I was done for the day...but i got bored after I put the little one down and decided to make her a little lovie. I'm really into owls right now and have seen little stuffed owls in blogs everywhere, so i decided to make one for MY lovie :) I don't really have a tutorial for it, because I just made my own pattern and cut out eyes and a nose and stuffed it...Nothing too difficult. I also put rice at the bottom so i could put it in the fridge for when my lovie gets an owie. If you wanted to see a tutorial for how to make a similar one, go HERE.


MONOGRAM

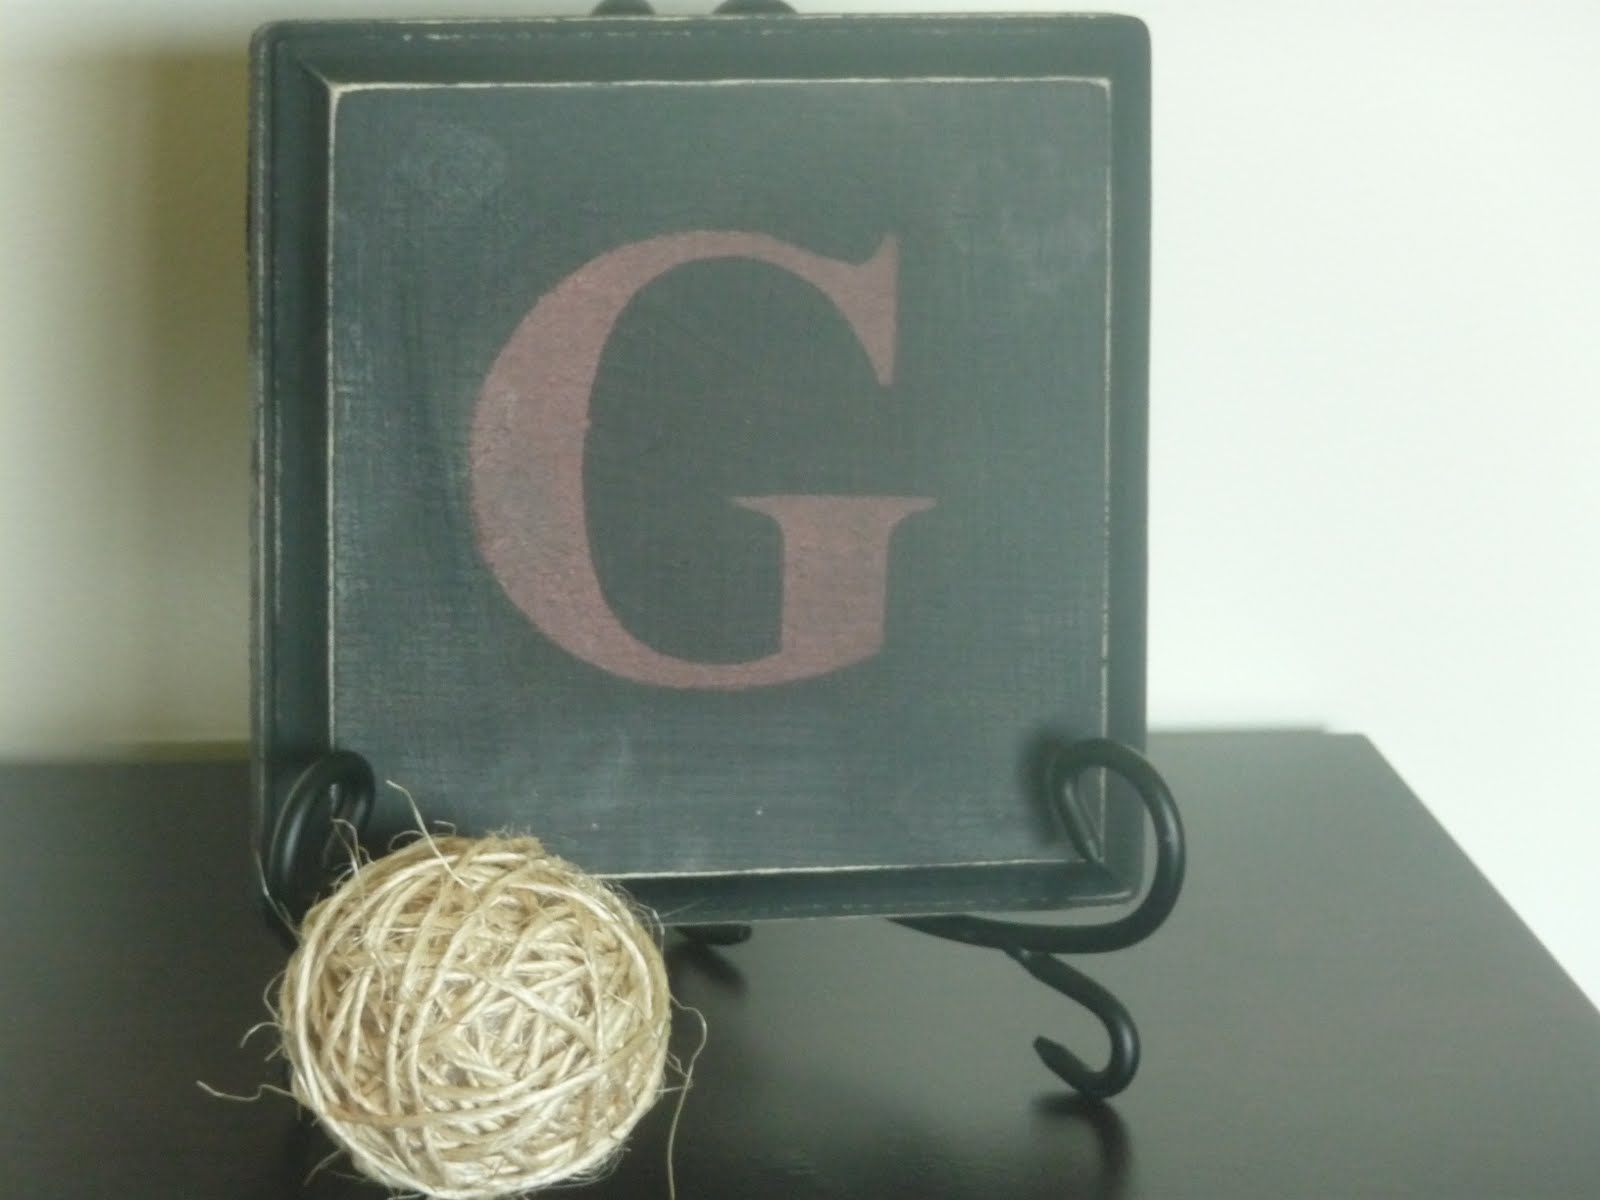
I was crazy blog stalking the other day and found tons of things I can't wait to do!! I had some stuff lying around so I decided to start with this cute little plaque!! It was sooo easy and cute, i think :) Here's where I got the tutorial! I skipped the part where she put the beige paint underneath, and just put two coats of black on it. Also, I don't have a cricut like she does, so I just printed out a big "G" and carefully cut it out with a pair of scissors. While the black paint was still a little bit tacky, i put the paper down so it would stick a little bit so i would get clean lines.
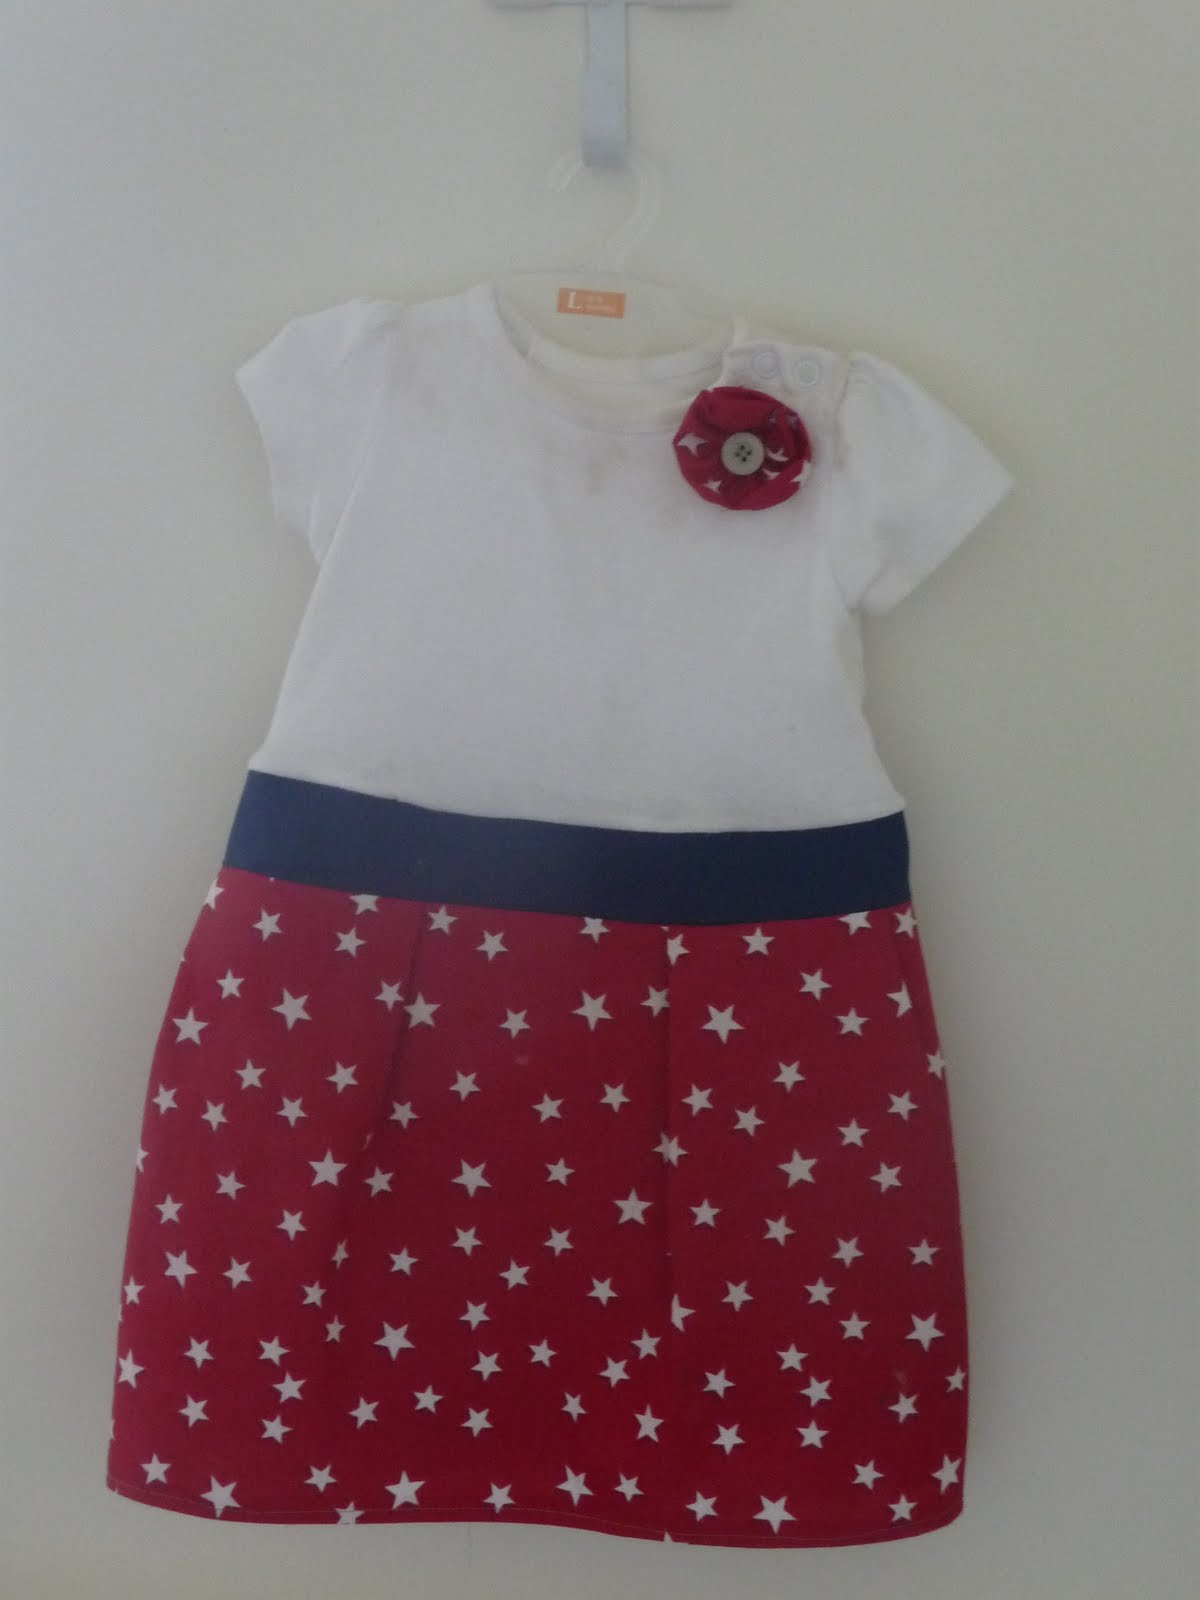
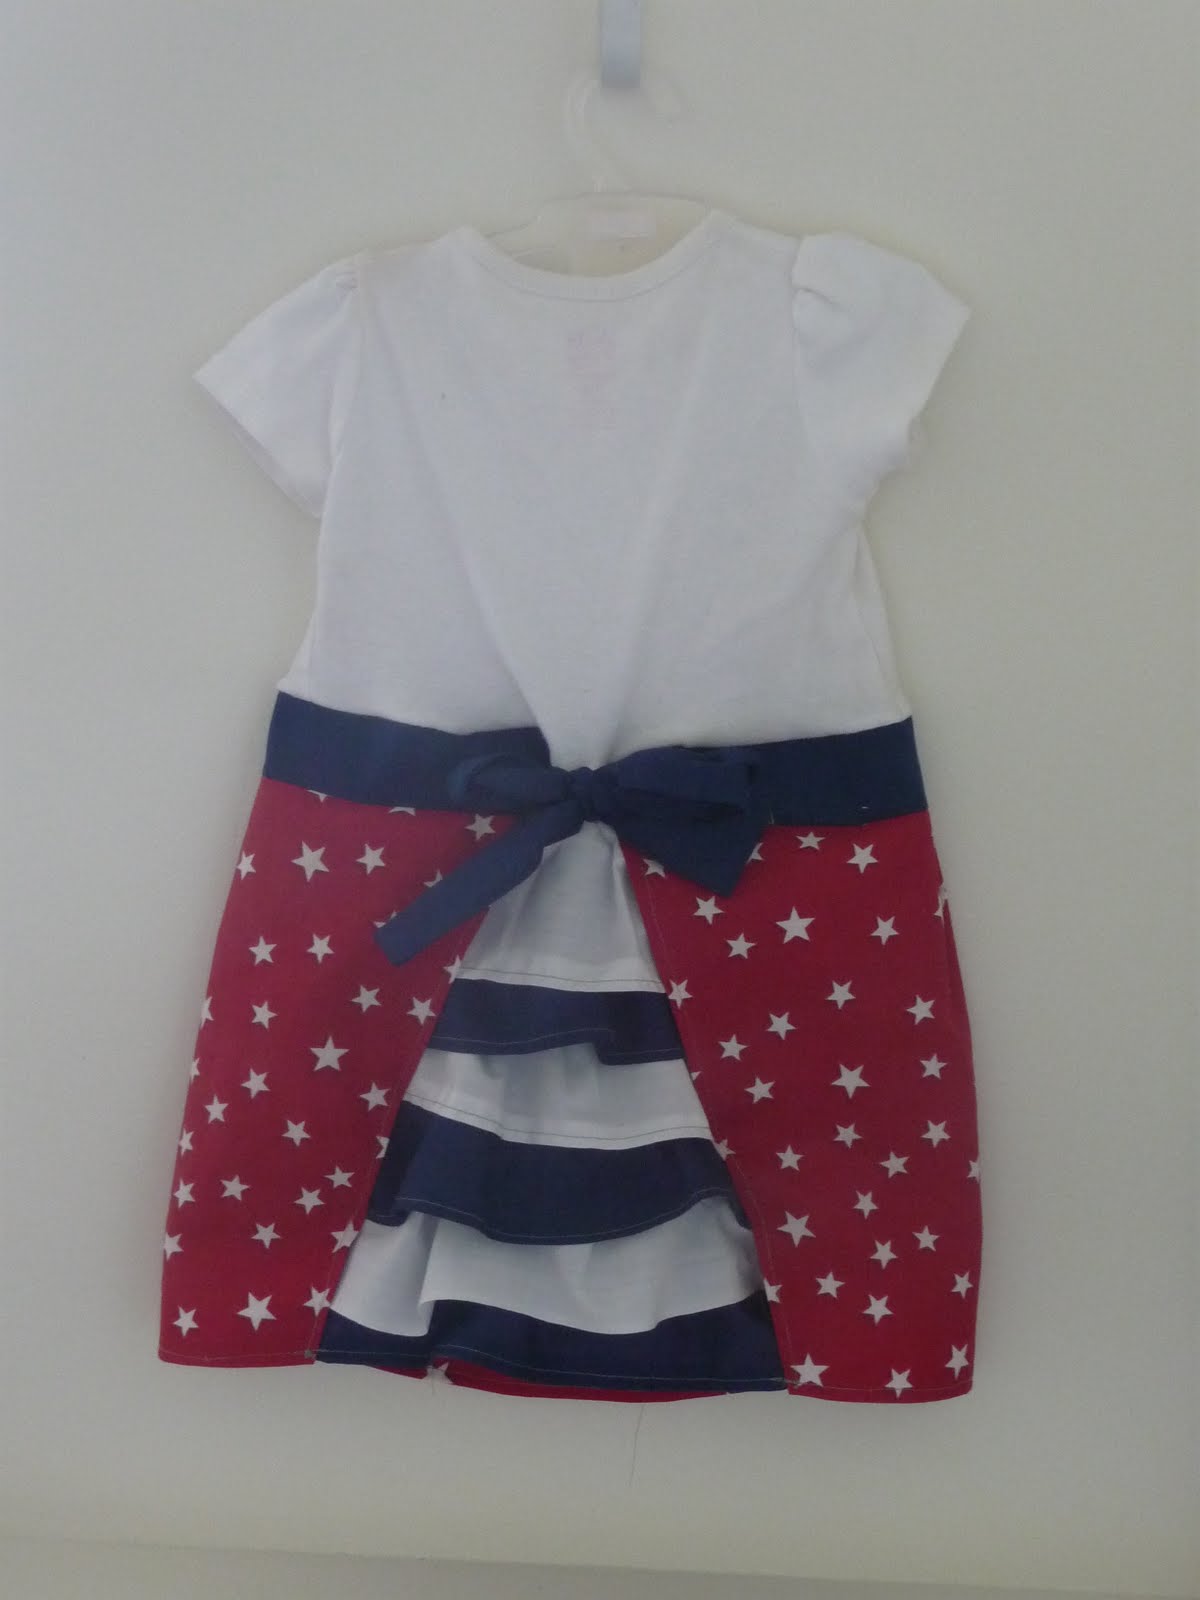

Tuesday, June 21, 2011

BABY BOOTIES

I've been trying to make a decent pair of these little shoes for a while now but it's just not really working for me..My mom found a cute tutorial and I tried those today and this is what I came up with.


They're kind of awful if you can't tell...The straps ended up coming out in different spots..but i tried..i really tried. I just thought I would pass along the link again for anyone who might be interested. If you do it right, they should end up really cute, so don't use my attempt to judge the pattern :)

Here's the LINK!! Enjoy!!

Monday, June 20, 2011

FRAYED EDGE PILLOWS

Lately I've been wanting to change up the decor in our apartment but it seems so hard...We can't paint the walls, and have to make do with the floor plan...So I've been changing small little things and finally got to the couches! I decided to make some cute pillows to jazz it up :) So i found this amazing tutorial and made my own cute frayed pillows. I LOVE it and, once i get more fabric, will make some more soon!!! Here's what i came up with!!


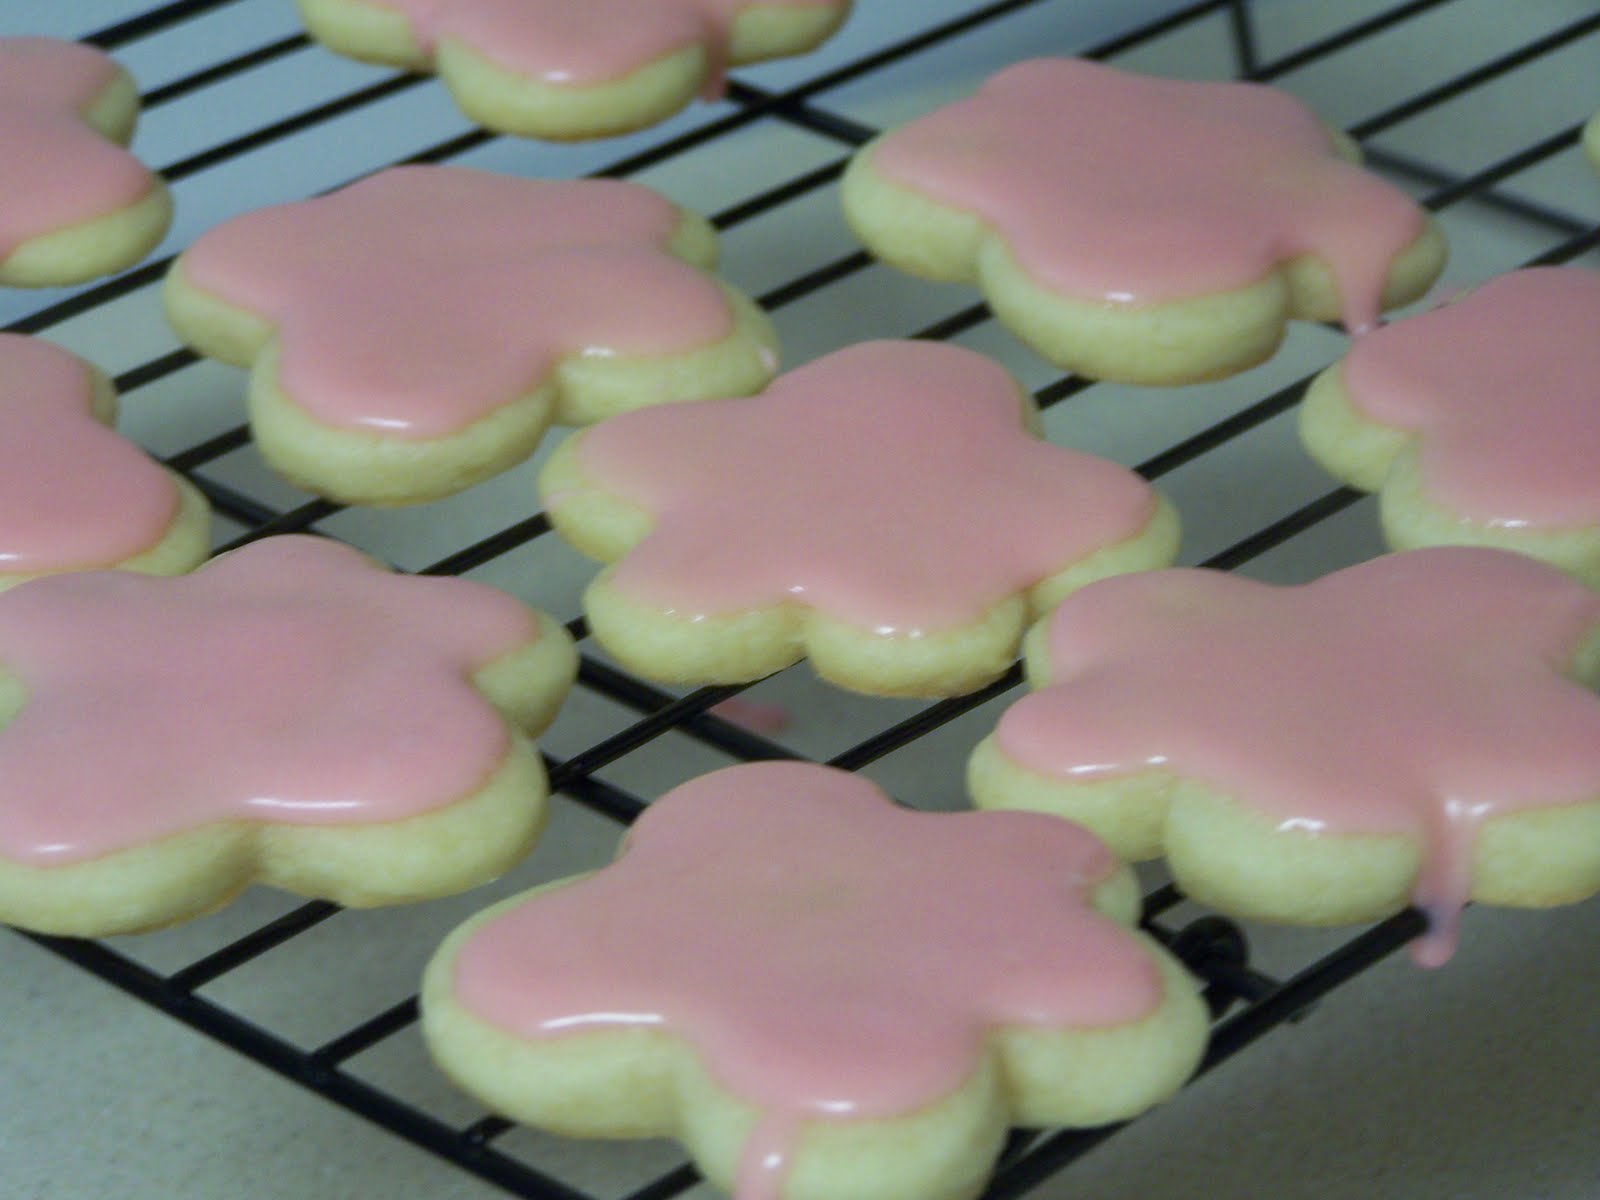
These were sooo easy and fun to make!!

Monday, June 6, 2011

YUMMY COOKIES

I found a really good sugar cookie recipe online and tried it out!! Here is the recipe:

Ingredients

  • 1 1/2 cups butter, softened
  • 2 cups white sugar
  • 4 eggs
  • 1 teaspoon vanilla extract
  • 5 cups all-purpose flour
  • 2 teaspoons baking powder
  • 1 teaspoon salt

Directions

  1. In a large bowl, cream together butter and sugar until smooth. Beat in eggs and vanilla. Stir in the flour, baking powder, and salt. Cover, and chill dough for at least one hour (or overnight).
  2. Preheat oven to 400 degrees F (200 degrees C). Roll out dough on floured surface 1/4 to 1/2 inch thick. Cut into shapes with any cookie cutter. Place cookies 1 inch apart on ungreased cookie sheets.
  3. Bake 6 to 8 minutes in preheated oven. Cool completely.


and the Glaze:

  • 1 1/2 cups confectioners' sugar
  • 2 1/2 tablespoons milk
  • 1/8 teaspoon salt
  • 1/4 teaspoon vanilla extract
  • 1 teaspoon butter

Directions

  1. Melt the butter and add to rest of ingredients. Mix until creamy.

my little helper :)